It is almost common, when one begins learning the use of a camera, to have full faith in the automatic setting, since, after all, it sells itself as something easy and convenient. However, if one wants to truly bring forth the best their camera can offer and raise the level of their photography, they have to masters manual mode. It gives the photographer absolute control over the outcome of their image, allowing fine adjustment in every parameter of the shot. This will be your guide to the basics of mastering manual mode and will provide you with the means to take pictures that are more representative of your creative ideas.
Manual Mode Elements
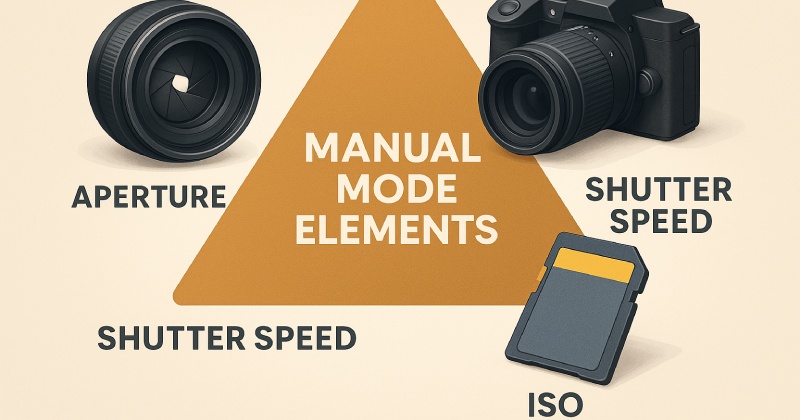
Starting out with manual mode, it is important to understand the three factors that influence exposure: aperture, shutter speed, and ISO. These three elements are referred to as an "exposure triangle," and when you master these, you will be able to take full control over the output image.
Aperture
Aperture controls the size of the opening in your lens through which the light enters the camera. It is measured in f-stops or f-numbers (e.g., f/1.8, f/5.6, f/16). Aperture affects your photographs in two general ways:
- Exposure: More light comes through when the aperture is wider (smaller f-number like f/1.8), brightening the photograph; less light when the aperture is smaller (larger f-number like f/16), thereby darkening the image.
- Depth-of-Field: Wider aperture causes shallow depth of field where background becomes blurry (good for portraits) and a smaller aperture keeps more of the scene in focus (good for landscapes).
Shutter Speed
The shutter speed of the camera refers to the amount of time we expose light to the sensor in the camera. Exposure time is specified in fractions of a second such as 1/1000, 1/500, 1/60, or whole seconds such as 1", 2", or 5". Shutter speed influences the following:
- Exposure: The fast shutter speed (say, 1/1000) allows less light, producing a dark image; whereas a slow shutter speed (say, 1/30) will allow its maximum light, thus brightening the image.
- Motion Blur: A fast shutter speed halts the action (great for sports/wildlife), slow captures movement with a blur effect (good for waterfalls/night scenes).
ISO
The ISO intensity level sets how sensitive your camera sensor is to light. The lower ISO numbers (for instance, 100 or 200) have less sensitivity to light and require longer exposure times to achieve brightness; conversely, higher ISO numbers (such as 1600 or 3200) imply higher sensitivity to light and thus permit taking pictures in less light without the need for a tripod. High values of ISO, however, can produce noise (grain) in your pictures.
Exposure Triangle Balance
While going manual, one of the first things to learn is to get the balance between aperture, shutter speed, and ISO. Any changes in one will affect the others, and thus you must make decisions based on what kind of picture you want to take. For example:
- For shooting a portrait with backgrounds blurred, you have to open the aperture wide (low f-stop number), so you may have to either use a lower ISO setting or go for higher shutter speed to avoid overexposure.
- Fast shutter speeds, maybe 1/1000 for fast action like sports, demand adjustments holding the aperture or ISO to retain the proper exposure.
Beginner's tip- use the camera's inbuilt light meter, generally displayed on the LCD or found in the viewfinder. This meter tells you whether the present setting is an overexposure, underexposure, or right exposure. So aim for somewhere in the middle, with perhaps some slight clock adjustments for creative designs.
Why Is Manual Mode Important?
Manual may sound scary at first, especially for those who have been used to auto-settings. However, it offers some advantages that automatic modes do not:
- Complete Control: Settings are really in your hands. You can manipulate aperture, shutter speed and ISO, whichever way you want.
- Creative Freedom: Exposure is your playground for experimenting to create images: long exposure for dreamy landscapes or building fast action into freeze frames.
- Image Quality Improvement: Better control of exposure elements will allow you to reduce noise, enhance sharpness, and balance the lighting rather than depending on the built-in camera defaults.
With the understanding of how to correctly operate the manual mode, you will not be at the mercy of automatic camera decisions any more. Practice a little, and your versatility will explode as you learn to use your camera to its fullest battery.
Practical Tips on Manual Mode
Having been through the manual mode basics, here are some practical tips that will help you shoot better:
Using the Histogram
Do not solely rely on the camera's built-in light meter-to judge exposure, use the histogram instead. It charts the distribution of shadows, midtones, and highlights within your image. An ideally balanced histogram shows a smooth curve with no clipping at either end. If the graph is heavy toward the left, your image is underexposed; heavy to the right means overexposure.
Take Test Shots
Test excellent exposure by taking different test shots. Based on the results, go ahead and adjust your settings, then take another shot. With a digital camera, there's nothing to lose by experimenting and gaining experience with each shot.
Use a Tripod for Low Light
Consider working with very slow shutter speeds to get your shots well-exposed in dim light. When such a slow shutter speed is applied, the use of a tripod is a must to prevent camera shake and consequent image blurring.
Learn to Read the Scene
Observe lighting in your scene. When bright and sunny, one would need to use a fast shutter speed and a small aperture to avoid overexposure. At times when it's cloudy, one can hold back shutter speeds or loosen apertures for compensation. Give it a thought.
Solutions to Issues Usually Encountered
Under manual settings, you are given more control, yet there is a downside; certain challenges are posed. Here are some of the usual problems and how you can tackle them:
Blurry Photos
Often the photos turn out blurry because your shutter speed is too slow. Increase it a bit, or use a tripod to stabilize your camera. For fast-moving subjects, an increased shutter speed will effectively freeze motion.
Overexposure or Underexposure
If your pictures are too bright or too dark, adjust the aperture, shutter speed, or ISO so that exposure is compensated. If you are being exposed to an extremely bright or extremely dark ambiance, then you might need to set extreme values for compensation.
Noise in Low-Light Shots
In low-light conditions, you might have to increase your ISO, but this causes your photos to have noise constraining atmosphere. Should noise become a problem, consider opening up the aperture a bit or using a tripod permitting slow shutter speeds without losing image quality.
Control Your Camera Like Never Before
Learning the manual mode involves practicing endurance, but for all that, it is worth the effort. With a working knowledge of the exposure triangle, aperture, shutter speed, and ISO, you will become more proficient in producing dynamic and professional images that are indeed bearing your personal creative imprint. Begin with easy-to-shoot scenes and have fun with setting variations; just know that you will then have to test yourself with more difficult lighting conditions. Step by step, employing manual mode will become natural, so working with it shall be a precise statement of style.